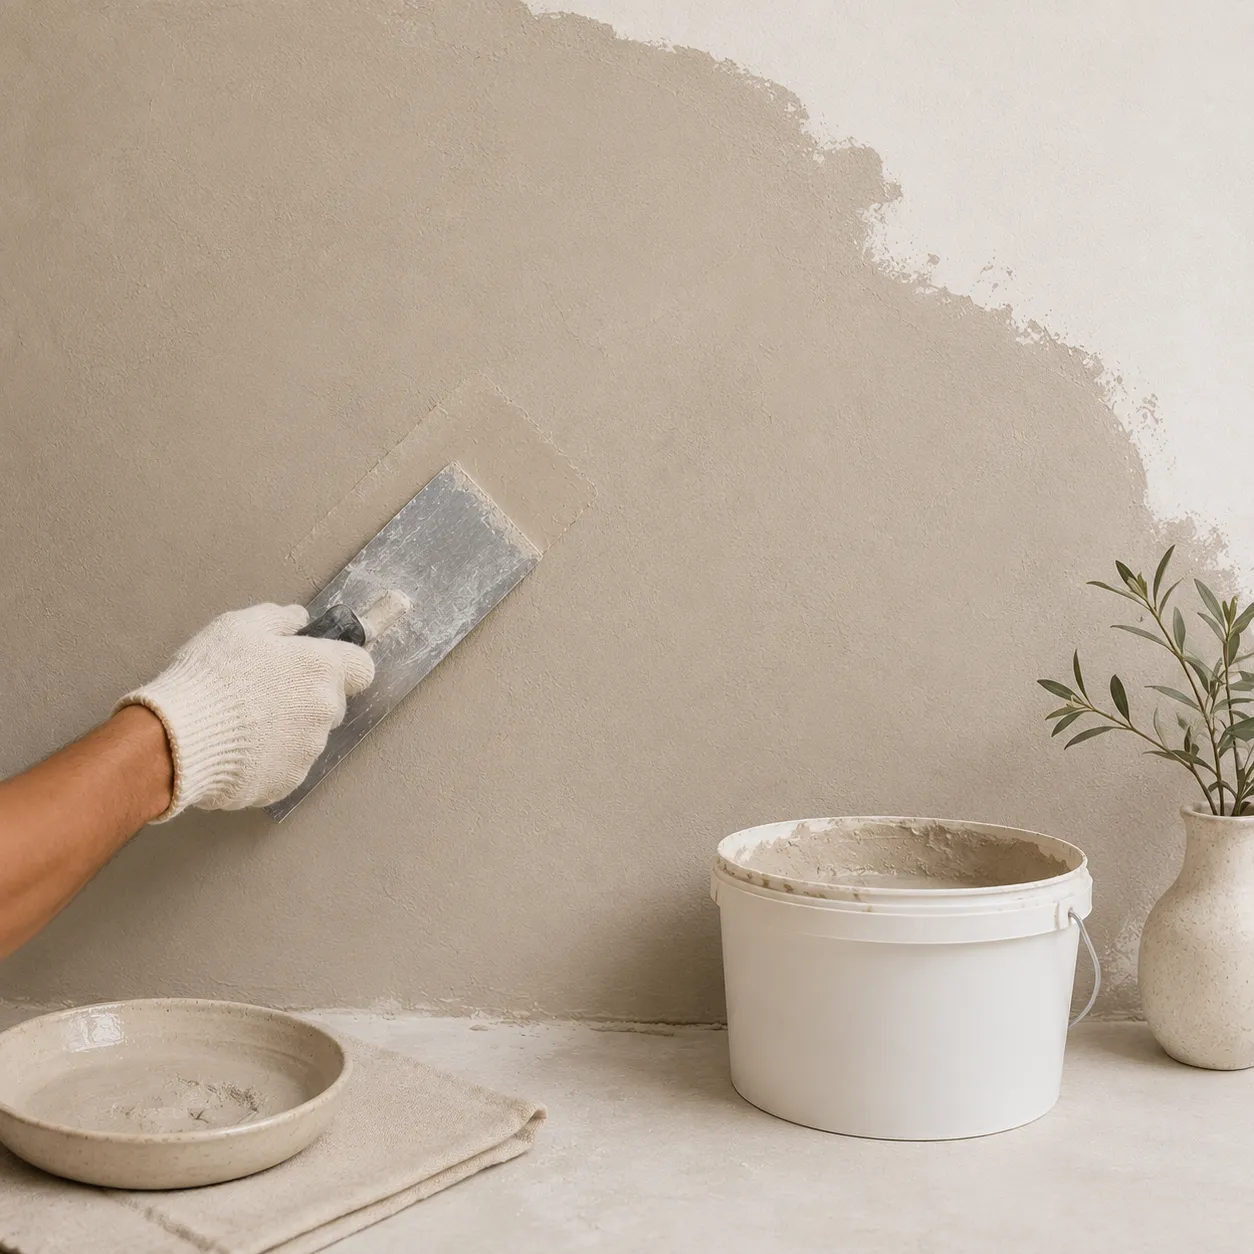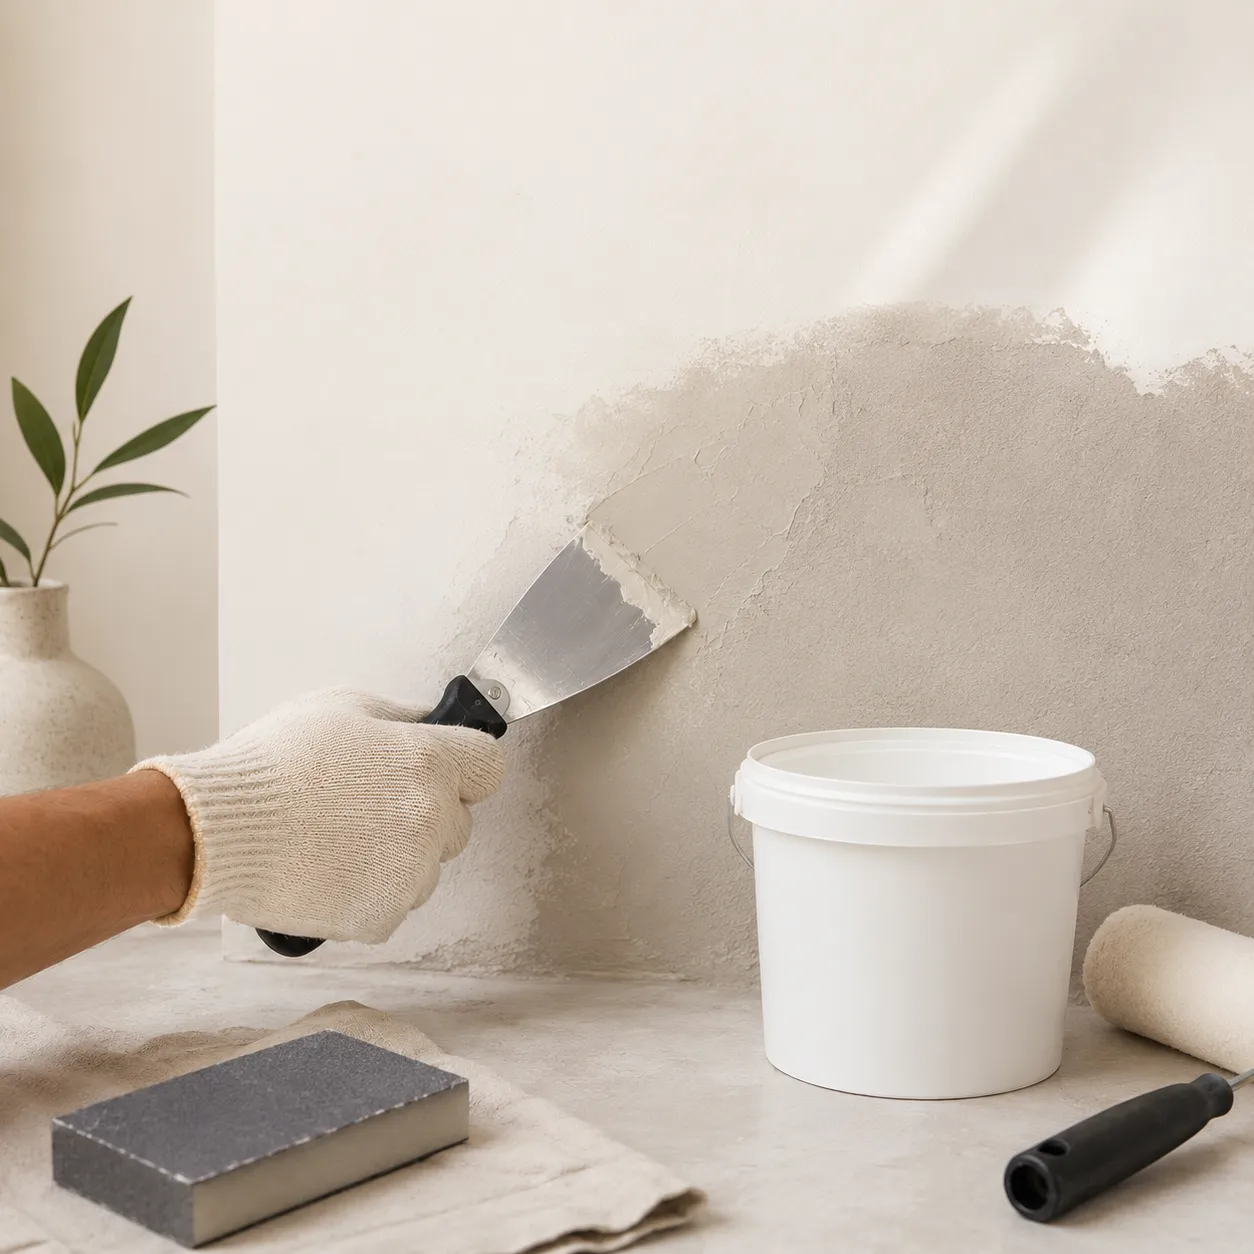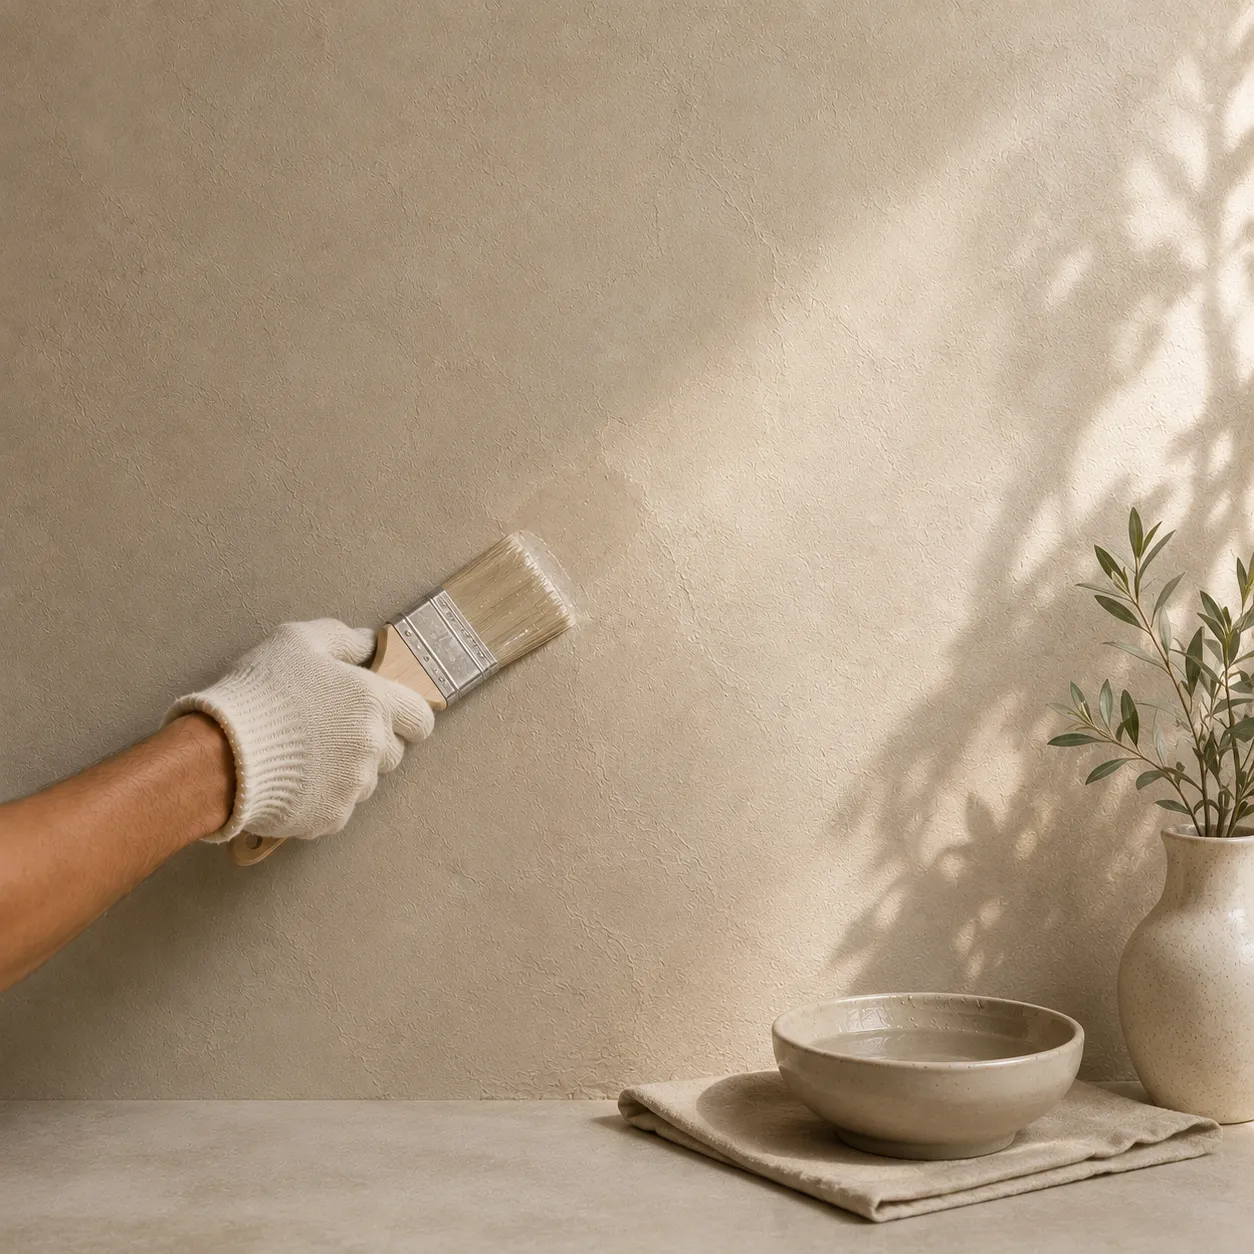
The finished wall gets most of the attention, but much of the work happens before the final texture is applied. Here’s a look at the preparation behind a decorative wall finish.
The Work Behind a Finished Wall
When you see a completed textured wall, it can look simple. The finished surface, however, depends on what happens underneath it.
Before applying the selected finish, the wall needs to be checked and prepared according to its condition.
First, We Check the Wall
We look for cracks, uneven areas, loose paint, holes and other surface issues. Existing walls can vary considerably from one room to another, so preparation should not be treated as exactly the same for every project.
Next Comes Cleaning and Repair
Dust, loose material and damaged areas need to be dealt with before further work.
Where required, cracks or imperfections are repaired so the surface is ready for the next stage.
The Surface Is Prepared for the Finish
Depending on the selected finish and the existing wall, sanding, levelling or priming may be required.
The aim is not necessarily to make every wall identical. It is to create a suitable base for the material being applied.
Then the Base Layer Goes On
The base coat provides the foundation for the decorative finish. Its colour and application can affect how the final surface looks, so this stage needs to be completed carefully.
Finally, the Texture Is Applied
Once the wall is ready, the selected finish is applied using the appropriate technique.
This is where the final texture, movement and tonal variation begin to appear.
Why Preparation Matters
Skipping preparation can result in uneven texture, poor adhesion or imperfections becoming more visible after the finish is applied.
A good decorative wall is not just about the final coat. It starts with the condition of the surface underneath.
That is why ClayTex treats surface preparation as part of the finishing process rather than an afterthought.